Want to self-host n8n instead of using the cloud version? With a VPS starting at a few euros per month, you get unlimited workflows, unlimited executions, and full control over your data. This guide walks you through a production-ready setup with PostgreSQL, automatic SSL, security hardening, and backups.
Why Self-Host n8n?
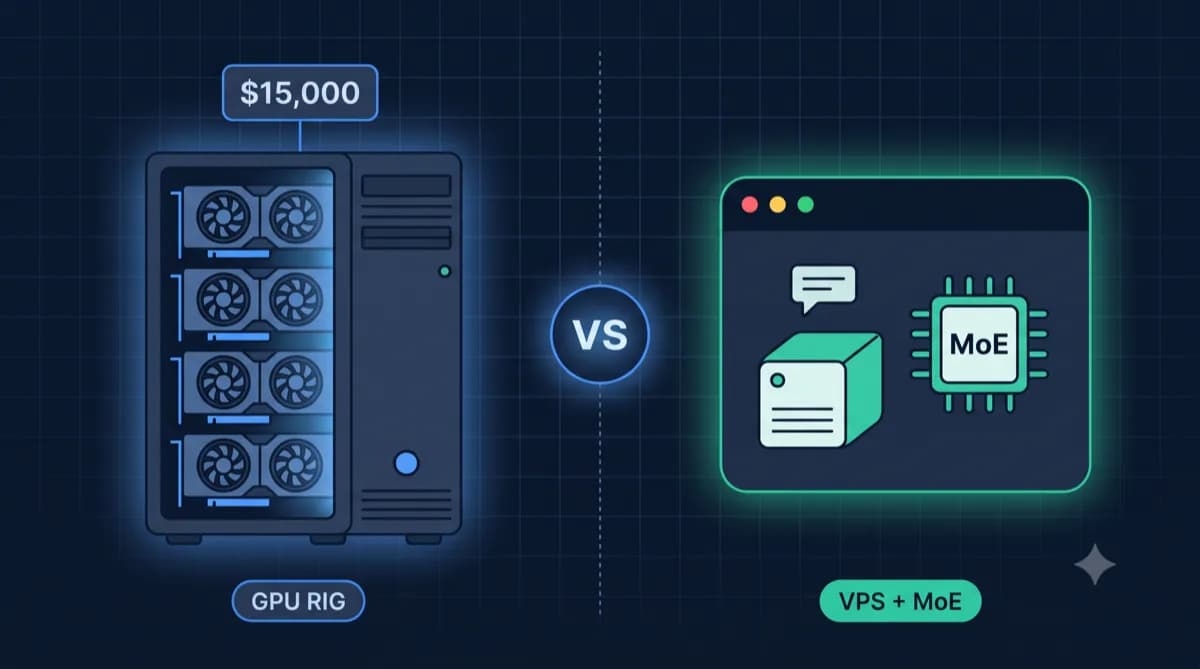
Cost: Self-Hosting vs. n8n Cloud
| n8n Cloud | n8n Self-Hosted | |
|---|---|---|
| Monthly cost | Check n8n's current pricing page | Live VPS prices shown in the offer cards below |
| Executions | Plan-dependent | Limited only by your server resources |
| Workflows | Plan-dependent | Limited only by your server resources |
| Data location | Depends on provider and plan | You decide |
| Setup effort | Minimal | Basic Linux, Docker, and DNS knowledge required |
The break-even is fast: even n8n Cloud's cheapest paid plan costs more per month than a VPS that can handle most workloads. And on a VPS, there are no execution caps — your automations run as often as your hardware allows.
Privacy and Data Control
If your workflows process customer data, email addresses, or form submissions, the server location matters. With a German VPS provider, your data stays in German data centers. You keep full control, can sign data processing agreements (DPA) directly with the host, and avoid cross-border data transfers. For freelancers and small businesses handling client data, that is a real advantage.
No Execution Limits
The cloud version throttles executions based on your plan. Self-hosted n8n has no artificial limits. If your server has the resources, the workflows run. This makes a difference once you build automations that fire hundreds of times per day — lead routing, invoice processing, monitoring alerts, or RSS aggregation.
Hardware Requirements
n8n itself uses 300–500 MB of RAM. Add PostgreSQL and a reverse proxy, and you need at least 2 GB total. Here is what we recommend based on usage:
| Usage | RAM | CPU | Storage | Example |
|---|---|---|---|---|
| Hobby (< 20 workflows) | 2 GB | 1 vCPU | 20 GB | Personal automations, RSS, notifications |
| Standard (20–50 workflows) | 4 GB | 2 vCPU | 40 GB | Business workflows, CRM sync, invoicing |
| Pro (50+ workflows) | 8 GB | 4 vCPU | 80 GB | Heavy data processing, multi-team usage |
Our recommendation for getting started:

Which VPS for n8n? Our Recommendations
IONOS VPS: Beginner-Friendly with German Support
IONOS offers a clean interface and direct German-language phone support. If you want to get started quickly without terminal experience, IONOS is a solid choice. Their VPS plans include DDoS protection and a management console. The documentation is available in German and English.
Strato Linux V-Server: Deutsche Telekom Subsidiary for SMBs
Strato targets small and medium businesses with phone support and a German-speaking team. If your company needs a local contact person and invoices from a German provider, Strato fits. Slightly more expensive than Hetzner or Contabo, but the support experience is smoother for non-technical users.
Hetzner Cloud: Developer Favorite with Best Performance
Hetzner consistently delivers the best price-to-performance ratio for developers. NVMe storage, a proper API, Terraform integration, and per-minute billing make it the go-to choice for DevOps teams. The CX22 (4 GB RAM) handles most n8n workloads easily.
Contabo VPS: Maximum Resources for the Budget
Contabo gives you the most RAM and storage per euro. If you plan to run dozens of workflows with large data volumes, Contabo delivers raw resources at a price no other provider matches. The trade-off is slightly older hardware and a more basic management interface.
Quick Comparison
| Provider | Strength | Best for |
|---|---|---|
| IONOS | Simple interface, German support | Beginners who want to start fast |
| Strato | Telekom subsidiary, phone support | Businesses needing a German contact |
| Hetzner | Best performance, NVMe, API | Developers and DevOps teams |
| Contabo | Most RAM and storage per euro | Budget projects with many workflows |
Step 1: Set Up Your VPS
After purchasing your VPS, connect via SSH:
ssh root@your-server-ip
Update the system and install essential packages:
apt update && apt upgrade -y
apt install -y curl git ufw
Create a non-root user for daily operations:
adduser deploy
usermod -aG sudo deploy
From here on, you can work as the deploy user for better security.
Step 2: Install Docker
n8n runs best in Docker — it simplifies installation, updates, and isolation from the host system.
curl -fsSL https://get.docker.com | sh
Add your user to the Docker group so you do not need sudo for every command:
sudo usermod -aG docker $USER
Log out and back in for the group change to take effect. Verify the installation:
docker --version
docker compose version
Step 3: Start n8n with Docker Compose (Production Setup)
Create a directory for the n8n installation:
mkdir -p ~/n8n && cd ~/n8n
For production use, we recommend PostgreSQL as the database. n8n defaults to SQLite, but PostgreSQL is more stable with many concurrent workflows and easier to back up.
Create a .env file with your settings:
# .env
N8N_HOST=n8n.your-domain.com
N8N_PORT=5678
N8N_PROTOCOL=https
WEBHOOK_URL=https://n8n.your-domain.com/
N8N_ENCRYPTION_KEY=your-secret-key-here
POSTGRES_USER=n8n
POSTGRES_PASSWORD=a-secure-password
POSTGRES_DB=n8n
The N8N_ENCRYPTION_KEY encrypts the credentials stored in your workflows. Generate it with openssl rand -hex 32 and keep it safe. Without this key, you cannot recover your saved credentials.
Now create the docker-compose.yml:
version: "3.8"
services:
  postgres:
    image: postgres:16
    restart: always
    environment:
      - POSTGRES_USER=${POSTGRES_USER}
      - POSTGRES_PASSWORD=${POSTGRES_PASSWORD}
      - POSTGRES_DB=${POSTGRES_DB}
    volumes:
      - postgres_data:/var/lib/postgresql/data
    healthcheck:
      test: ["CMD-SHELL", "pg_isready -U ${POSTGRES_USER}"]
      interval: 10s
      timeout: 5s
      retries: 5

  n8n:
    image: docker.n8n.io/n8nio/n8n:stable
    restart: always
    ports:
      - "5678:5678"
    environment:
      - N8N_HOST=${N8N_HOST}
      - N8N_PORT=${N8N_PORT}
      - N8N_PROTOCOL=${N8N_PROTOCOL}
      - WEBHOOK_URL=${WEBHOOK_URL}
      - N8N_ENCRYPTION_KEY=${N8N_ENCRYPTION_KEY}
      - DB_TYPE=postgresdb
      - DB_POSTGRESDB_HOST=postgres
      - DB_POSTGRESDB_PORT=5432
      - DB_POSTGRESDB_DATABASE=${POSTGRES_DB}
      - DB_POSTGRESDB_USER=${POSTGRES_USER}
      - DB_POSTGRESDB_PASSWORD=${POSTGRES_PASSWORD}
    volumes:
      - n8n_data:/home/node/.n8n
    depends_on:
      postgres:
        condition: service_healthy

volumes:
  postgres_data:
  n8n_data:
Start the setup:
docker compose up -d
Verify both containers are running:
docker compose ps
You should see two containers, both with status "running". n8n is now available at http://your-server-ip:5678. On first visit, you will create your admin account.
Step 4: Reverse Proxy with Caddy
For HTTPS, we recommend Caddy. It handles SSL certificate issuance and renewal automatically — no certbot cron jobs, no manual configuration.
Install Caddy:
apt install -y debian-keyring debian-archive-keyring apt-transport-https
curl -1sLf 'https://dl.cloudsmith.io/public/caddy/stable/gpg.key' | gpg --dearmor -o /usr/share/keyrings/caddy-stable-archive-keyring.gpg
curl -1sLf 'https://dl.cloudsmith.io/public/caddy/stable/debian.deb.txt' | tee /etc/apt/sources.list.d/caddy-stable.list
apt update && apt install -y caddy
Edit the Caddyfile at /etc/caddy/Caddyfile:
n8n.your-domain.com {
    reverse_proxy localhost:5678
}
Point your domain's DNS A record to your server's IP address, then reload Caddy:
systemctl reload caddy
Caddy will automatically obtain a Let's Encrypt certificate. After a few seconds, n8n is reachable at https://n8n.your-domain.com with a valid SSL certificate.
Security
A production server exposed to the internet needs basic hardening. These three steps cover the essentials.
Firewall with ufw
ufw default deny incoming
ufw default allow outgoing
ufw allow 22/tcp    # SSH
ufw allow 80/tcp    # HTTP (Caddy redirect)
ufw allow 443/tcp   # HTTPS
ufw enable
Port 5678 (n8n) is intentionally not opened — Caddy proxies all traffic through port 443. Direct access to n8n is blocked from the outside.
fail2ban Against Brute-Force Attacks
apt install -y fail2ban
systemctl enable fail2ban
systemctl start fail2ban
fail2ban monitors your SSH logs and temporarily bans IP addresses that fail too many login attempts. The default configuration is sensible — 5 failed attempts result in a 10-minute ban.
Keep the System Updated
Set up unattended security updates so critical patches apply automatically:
apt install -y unattended-upgrades
dpkg-reconfigure -plow unattended-upgrades
This handles OS-level security patches. For n8n and PostgreSQL updates, see the next section.
Backups and Updates
Backing Up n8n Data
With our setup, all data lives in Docker volumes. Here is how to create a backup:
# Stop n8n
cd ~/n8n
docker compose stop

# Back up volumes
docker run --rm \
  -v n8n_n8n_data:/data \
  -v $(pwd)/backups:/backup \
  alpine tar czf /backup/n8n-data-$(date +%Y%m%d).tar.gz -C /data .

docker run --rm \
  -v n8n_postgres_data:/data \
  -v $(pwd)/backups:/backup \
  alpine tar czf /backup/postgres-data-$(date +%Y%m%d).tar.gz -C /data .

# Restart n8n
docker compose start
Alternatively, you can back up the PostgreSQL database while n8n keeps running:
docker compose exec postgres pg_dump -U n8n n8n > backups/n8n-db-$(date +%Y%m%d).sql
Set up a cron job that runs the backup daily and deletes backups older than 30 days.
Updating n8n
Updating is straightforward with Docker:
cd ~/n8n
docker compose pull
docker compose up -d
This pulls the latest stable image and restarts the containers. Your data persists in the volumes. Check the n8n release notes before updating — major versions occasionally include breaking changes.
Conclusion
With this setup you have a production-ready n8n installation that:
- Uses PostgreSQL as a stable database backend
- Automatically renews SSL certificates via Caddy
- Starts automatically on server reboots
- Is secured with a firewall and fail2ban
- Stores your data persistently and backs it up
Total cost: The server cost depends on your chosen VPS — the offer cards on this page show live prices including VAT. For that, you get full data control and an automation server you can extend as you grow.
Frequently Asked Questions
How much RAM does n8n need?
Can I install n8n without Docker?
Is n8n self-hosting free?
Which VPS provider is best for n8n?
Do I need a domain for n8n?
Can I run n8n alongside other applications on the same VPS?
How do I secure n8n against unauthorized access?
How do I migrate from n8n Cloud to self-hosting?
More Self-Hosting Guides


Find the Right Server
Use our calculator to find the optimal VPS for your n8n installation
To n8n Calculator