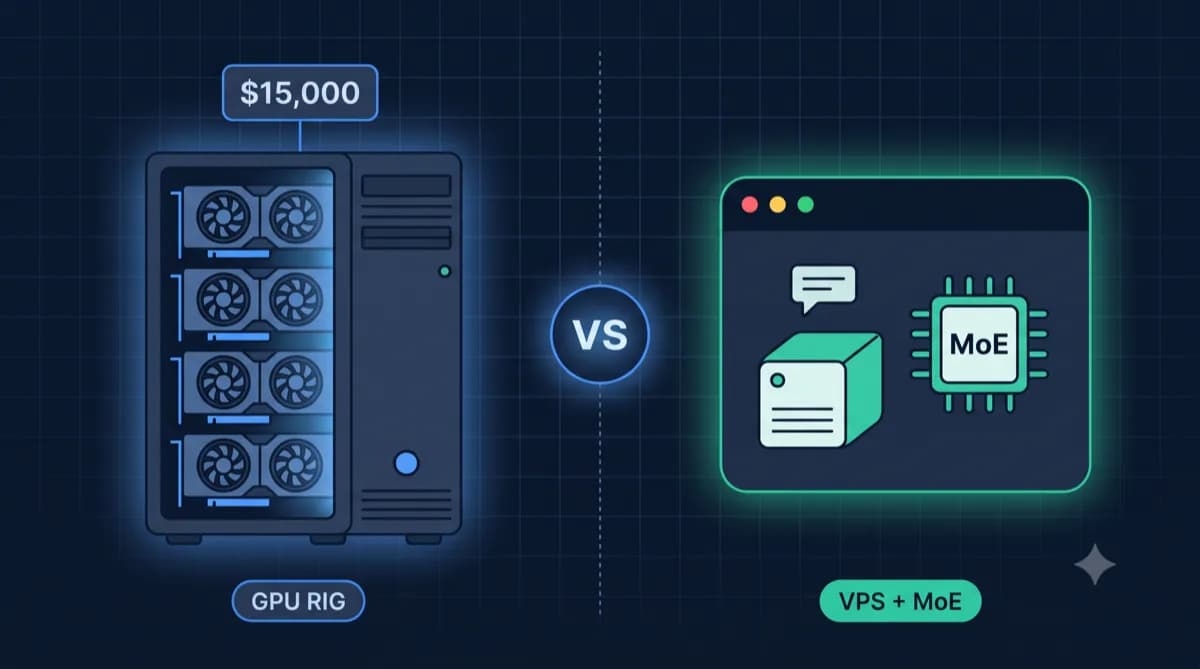
1Password costs $36/year. Bitwarden Premium $10/year. What if you could get all premium features - for €0 ongoing costs?
The math: A VPS (Virtual Private Server - your own server in the cloud) costs from €4/month. Vaultwarden needs only ~100 MB RAM - the smallest server is more than enough. The one-time setup takes 10 minutes, after that you have: All Bitwarden premium features, full data control, and your passwords on your server instead of with US companies.
Prerequisites
You need:
- A VPS – the smallest plan is more than enough, from €4/month. Find affordable servers under €10 here →
- A domain or subdomain (for HTTPS)
- SSH access to the server
- Docker & Docker Compose installed
VPS recommendation: Vaultwarden needs only ~100 MB RAM. The smallest VPS is more than enough!
| Provider | Product | RAM | Price |
|---|---|---|---|
| Hetzner | CX22 | 2 GB | €4.35/mo |
| Netcup | RS 1000 | 2 GB | €4.99/mo |
| IONOS | VPS S | 1 GB | €4/mo |
Hetzner offers the fastest SSDs, Netcup the best price-performance ratio, IONOS the cheapest entry point.
Looking for an affordable server for Vaultwarden?
Vaultwarden needs only 100 MB RAM - the smallest server is enough. Find VPS under €10/month here.
Show servers under €10Step 1: Create Docker Compose File
Create a folder and the docker-compose.yml:
mkdir -p ~/vaultwarden && cd ~/vaultwarden
docker-compose.yml:
version: '3'

services:
  vaultwarden:
    image: vaultwarden/server:latest
    container_name: vaultwarden
    restart: always
    volumes:
      - ./data:/data
    environment:
      - DOMAIN=https://vault.yourdomain.com
      - SIGNUPS_ALLOWED=true  # Set to false after first account!
      - ADMIN_TOKEN=${ADMIN_TOKEN}
    ports:
      - 8080:80
Create .env file:
# Generate secure admin token
echo "ADMIN_TOKEN=$(openssl rand -base64 48)" > .env
cat .env  # Note the token!
Important: Replace
vault.yourdomain.comwith your actual domain!
Step 2: Start Vaultwarden
Start the container:
docker compose up -d
Check status:
docker compose logs -f
# Should show: 'Rocket has launched from http://0.0.0.0:80'
Vaultwarden is now running on port 8080. But: Without HTTPS the apps won't work properly - so on to the next step!
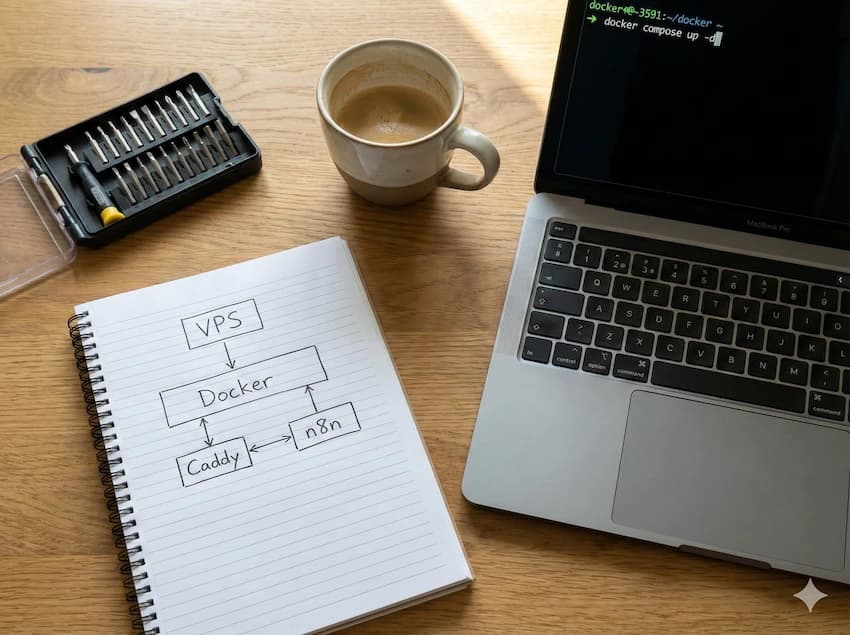
Step 3: Set Up HTTPS with Caddy
Caddy is the easiest way to get automatic HTTPS. Extend your docker-compose.yml:
version: '3'

services:
  vaultwarden:
    image: vaultwarden/server:latest
    container_name: vaultwarden
    restart: always
    volumes:
      - ./data:/data
    environment:
      - DOMAIN=https://vault.yourdomain.com
      - SIGNUPS_ALLOWED=true
      - ADMIN_TOKEN=${ADMIN_TOKEN}
    # Ports removed - Caddy takes over

  caddy:
    image: caddy:latest
    container_name: caddy
    restart: always
    ports:
      - 80:80
      - 443:443
    volumes:
      - ./Caddyfile:/etc/caddy/Caddyfile
      - caddy_data:/data
    depends_on:
      - vaultwarden

volumes:
  caddy_data:
Create Caddyfile:
vault.yourdomain.com {
    reverse_proxy vaultwarden:80
}
Restart:
docker compose down
docker compose up -d
Tip: Caddy automatically obtains an SSL certificate. Make sure your domain points to the server via DNS and ports 80/443 are open.
Step 4: Create First Account
Open https://vault.yourdomain.com in your browser:
- Click 'Create Account'
- Choose an email and a strong master password
- Create the account
IMPORTANT: Disable registration after the first account!
Step 5: Disable Registration
So no one else can register:
Change in docker-compose.yml:
- SIGNUPS_ALLOWED=false
Restart container:
docker compose up -d
Tip: If you want to add more users later: Use the admin interface at
/admin(password is your ADMIN_TOKEN).
Step 6: Configure Apps
Now connect the official Bitwarden apps to your server:
Browser Extension
- Install 'Bitwarden' from the browser store
- Click the gear icon (before logging in!)
- Under 'Server URL' enter:
https://vault.yourdomain.com - Save and log in
Mobile App
- Install 'Bitwarden' from App Store/Play Store
- Tap 'Self-hosted' in the region selection
- Server URL:
https://vault.yourdomain.com - Log in
Desktop App
- Download the app from bitwarden.com/download
- Menu → File → Settings → Server URL
- Log in
Step 7: Explore Admin Panel
Vaultwarden has an admin panel at /admin:
https://vault.yourdomain.com/admin
→ Password = your ADMIN_TOKEN from .env
Admin features:
- Invite new users (even with registration disabled)
- User overview and management
- Server statistics
- Backup options
- Configuration overview
Warning: Only use admin panel from trusted networks or add additional security (IP whitelist, VPN).
Step 8: Set Up Backup
Critical! Set up automatic backups:
Create backup script:
#!/bin/bash
# backup-vaultwarden.sh

BACKUP_DIR="/backup/vaultwarden"
DATE=$(date +%Y%m%d_%H%M%S)

mkdir -p $BACKUP_DIR
tar -czf $BACKUP_DIR/vaultwarden-$DATE.tar.gz ~/vaultwarden/data

# Delete old backups (keep 30 days)
find $BACKUP_DIR -type f -mtime +30 -delete

echo "Backup completed: vaultwarden-$DATE.tar.gz"
Set up cronjob (daily at 3 AM):
chmod +x backup-vaultwarden.sh
crontab -e
# Add line:
0 3 * * * /root/backup-vaultwarden.sh
Tip: Also transfer backups to external storage (Hetzner Storage Box, rsync to another server, etc.).
Step 9: Enable 2FA for Admin
Protect your admin account with TOTP:
- Log into the web vault
- Settings → Security → Two-Factor Authentication
- Set up Authenticator App (TOTP)
- Store recovery codes safely!
Highlight: With Vaultwarden you can also store TOTP codes for other services directly in the password manager - a premium feature!
Migrate from Other Password Managers
Here's how to import existing passwords:
| From | Migration |
|---|---|
| Bitwarden | Export as .json (unencrypted), Import in Vaultwarden: Tools → Import Data |
| 1Password | Export as .csv, Import as '1Password (csv)' |
| LastPass | Export as .csv, Import as 'LastPass (csv)' |
| KeePass | Export as .xml (KeePass 2.x), Import as 'KeePassX (xml)' |
Conclusion
You now have a complete password manager with all premium features - completely self-hosted, GDPR-compliant, and with no ongoing costs.
Cost comparison: 1Password costs $36/year, Bitwarden Premium $10/year. A VPS for Vaultwarden costs ~€48/year - but you can also run Immich for photos, Paperless for documents or your own VPN on it.
Frequently Asked Questions
How do I update Vaultwarden?
Can I use Vaultwarden offline?
What if I forget my master password?
Is Vaultwarden secure enough for sensitive data?
More Self-Hosting Guides


Looking for a VPS for your password manager?
Vaultwarden needs only minimal resources - the smallest VPS is more than enough.
Show servers under €10