15 GB of free storage on Google Photos fills up fast. After that: €2/month for 100 GB, €10 for 2 TB. And your photos are training Google's AI on the side.
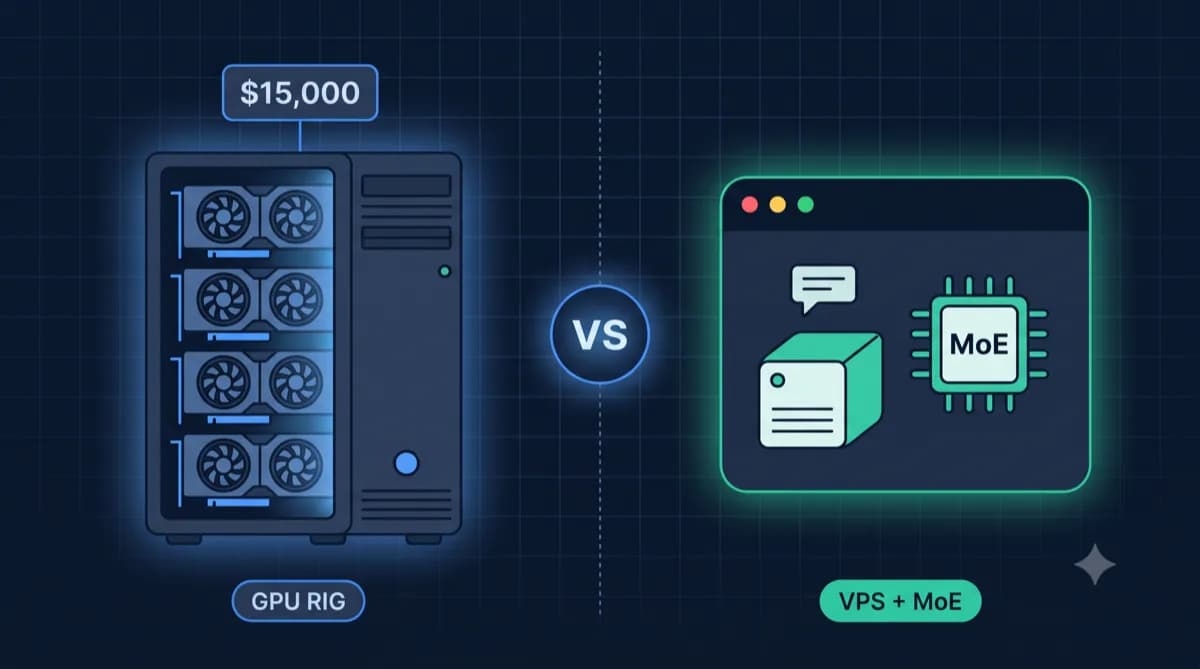
The math: With 50,000 photos you need ~500 GB. Google One costs €10/month for that. A VPS (Virtual Private Server – your own server in the cloud) with 400 GB storage starts at €8.99 – and you can run other apps on it too.
Immich is the solution: A Google Photos alternative with all the features – auto-upload, face recognition, map view – completely self-hosted. This guide shows you step by step how to install Immich on your own server.
Prerequisites
What you need:
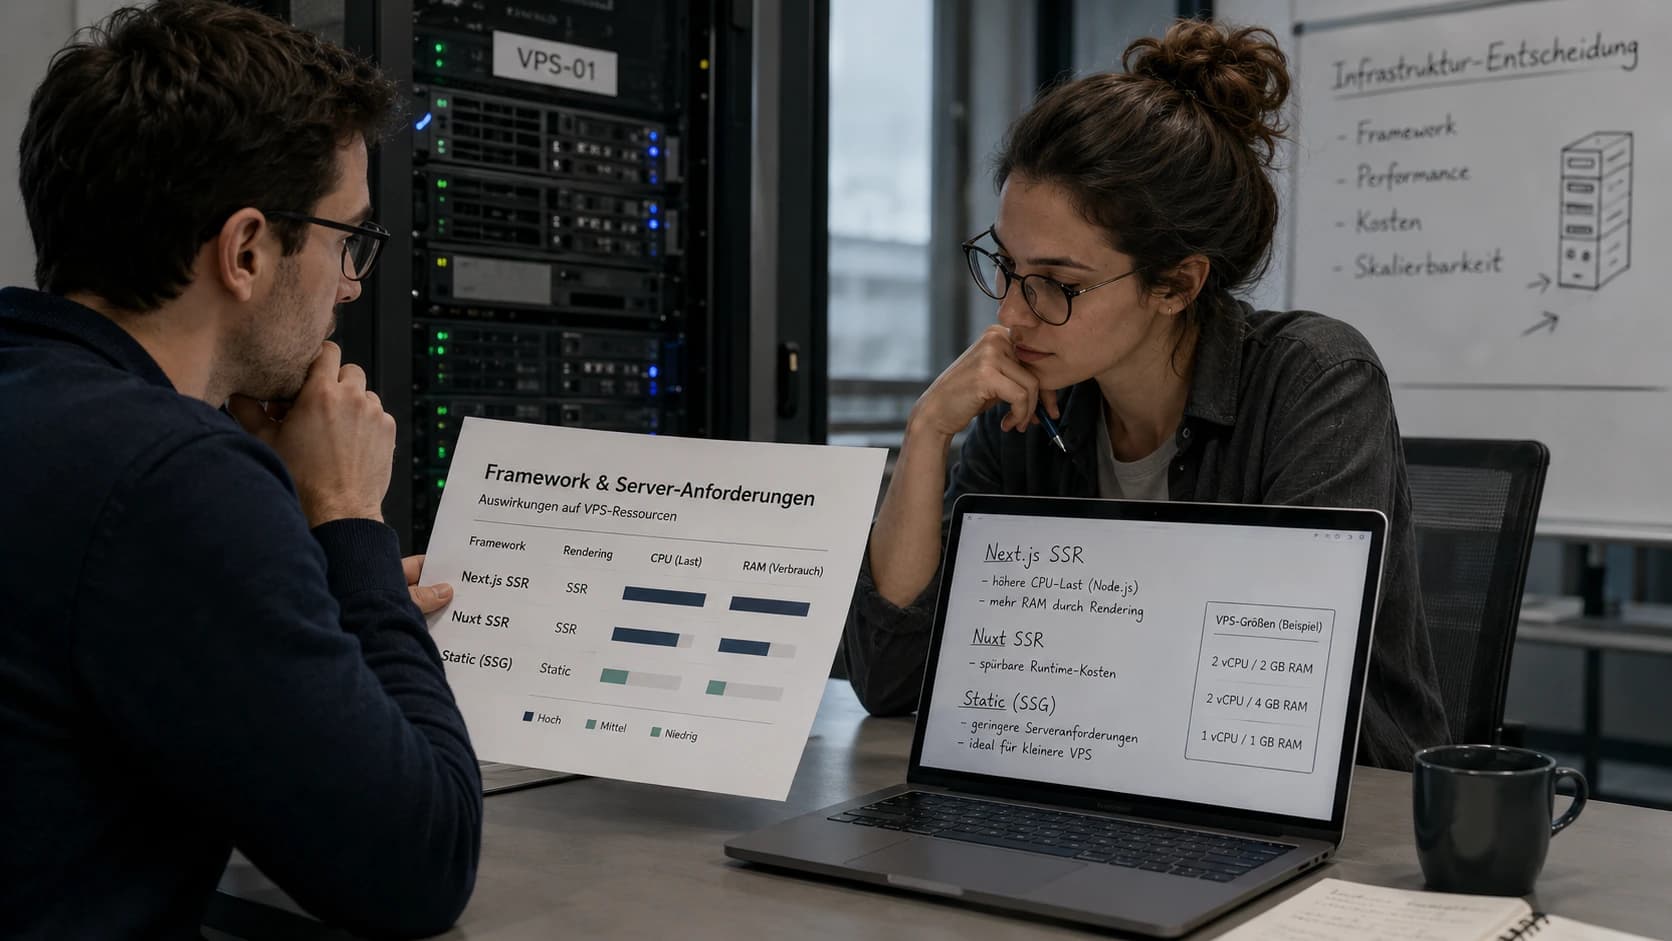
- A VPS with at least 8 GB RAM for face recognition (without ML, 4 GB is enough). Don't have one? Find suitable servers starting at €8.99/month here →
- Enough storage for your photos (see calculator below)
- Ubuntu 22.04 or 24.04
- Docker & Docker Compose
- Optional: Domain for HTTPS
Storage Calculator
| Photos | Estimated Storage | Recommended VPS Storage |
|---|---|---|
| 5,000 | ~25-50 GB | 100 GB |
| 20,000 | ~100-200 GB | 300 GB |
| 50,000 | ~250-500 GB | 500 GB |
| 100,000+ | ~500 GB - 1 TB | Dedicated or NAS |
For face recognition you need at least 8 GB RAM – without ML, 4 GB is enough. Contabo offers the best storage-per-euro ratio, Hetzner has the fastest NVMe SSDs for smooth thumbnail loading.
Looking for a server for Immich?
Face recognition needs 8 GB RAM. Find suitable servers starting at €8.99/month here.
Show servers with 8+ GB RAMStep 1: Install Docker
If Docker isn't installed yet:
curl -fsSL https://get.docker.com | sh
sudo usermod -aG docker $USER
# Log out and back in, or: newgrp docker
Check Docker Compose:
docker compose version
# Should show v2.x
Step 2: Install Immich
Immich provides an official installation script:
mkdir -p ~/immich && cd ~/immich
curl -fsSL https://get.immich.app | bash
What the script does:
- Downloads docker-compose.yml
- Creates .env with secure passwords
- Creates upload/ directory for photos
Start Immich:
docker compose up -d
The first start takes a few minutes – several containers are being downloaded (Web, Server, ML, Redis, PostgreSQL).
Important: Note the automatically generated password from the
.envfile!
Step 3: Initial Setup
Open http://YOUR-SERVER-IP:2283 in your browser:
- Click 'Getting Started'
- Create the admin account (email + password)
- Optional: Create additional users for family
- Done! You can now upload photos
Tip: The admin can later invite more users and set storage quotas.
Step 4: Add External Library (Optional)
If you already have photos on the server, modify docker-compose.yml:
services:
  immich-server:
    volumes:
      - ${UPLOAD_LOCATION}:/usr/src/app/upload
      - /path/to/your/photos:/usr/src/app/external:ro  # Read-only
Then:
- Restart containers:
docker compose up -d - In Immich: Administration → External Libraries → Add Library
- Enter path
/usr/src/app/external - Start scan – Immich indexes all photos
Step 5: Set Up Mobile App
The Immich app is available in the App Store and Play Store:
- Install the app (search: 'Immich')
- Enter server URL:
http://YOUR-IP:2283 - Log in with your account
- Enable backup: Settings → Backup → Enable Background Backup
Tip: For backup only over WiFi: Disable 'Use cellular data'
Warning: Without HTTPS, photos are transmitted unencrypted! For use outside your home network: Set up HTTPS (next step).
Step 6: Set Up HTTPS with Caddy
For secure access from anywhere, we'll set up a reverse proxy. Caddy is simpler than Nginx/Traefik:
Add Caddy to docker-compose.yml:
services:
  # ... existing Immich services ...

  caddy:
    image: caddy:latest
    restart: always
    ports:
      - 80:80
      - 443:443
    volumes:
      - ./Caddyfile:/etc/caddy/Caddyfile
      - caddy_data:/data
    depends_on:
      - immich-server

volumes:
  caddy_data:
Create Caddyfile:
photos.yourdomain.com {
    reverse_proxy immich-server:2283
}
Restart:
docker compose up -d
Caddy automatically obtains an SSL certificate from Let's Encrypt. Make sure your domain points to the server IP.
Step 7: Migrate from Google Photos
Here's how to import your complete Google Photos library:
1. Google Takeout Export
- Go to takeout.google.com
- Select only 'Google Photos'
- Format: ZIP, Size: 10 GB (or larger)
- Start export – can take hours
2. Transfer ZIPs to Server
scp ~/Downloads/takeout-*.zip user@server:~/immich/import/
3. Extract
cd ~/immich/import
for f in takeout-*.zip; do unzip "$f"; done
4. Immich CLI for Import with Metadata
docker exec -it immich-server immich upload --recursive /usr/src/app/import/Takeout
Tip: The CLI tool carries over date and GPS data from Google's JSON sidecar files.
Configure Machine Learning
Immich uses ML for face recognition and object search. For large libraries, tuning is worthwhile:
Disable ML (saves ~2 GB RAM)
Set in .env:
IMMICH_MACHINE_LEARNING_ENABLED=false
Change ML Model
Smaller model for less RAM:
MACHINE_LEARNING_CLIP_MODEL=ViT-B-32::openai
Warning: The initial ML scan can take several days for 50,000+ photos. The server remains usable though.
Backup Strategy
Your photos are important – definitely set up backups:
Daily: PostgreSQL database
docker exec immich_postgres pg_dumpall > backup.sql
Weekly: Upload directory (photos) with rsync to backup server or storage box
Example cronjob:
# Daily DB backup
0 3 * * * docker exec immich_postgres pg_dumpall > /backup/immich-db-$(date +\%Y\%m\%d).sql

# Weekly photo backup (incremental)
0 4 * * 0 rsync -avz ~/immich/upload/ [email protected]:/immich-backup/
Common Issues
ML Container Won't Start (OOM)
Not enough RAM. Either upgrade VPS or disable ML.
Photos Appear Twice
Enable 'Detect duplicate assets' in Administration → Jobs before the next import.
Mobile App Can't Find Server
Check:
- Is firewall port 2283 open?
- URL correct (don't forget http://)?
- Is server on the same network?
Thumbnails Load Slowly
NVMe storage helps. Or: Reduce thumbnail size in Administration → Settings.
Faces Not Recognized
Start ML job manually: Administration → Jobs → Face Detection → Run
Conclusion
You now have a complete Google Photos alternative on your own server. Your photos are safe, private, and you only pay for the server – not per gigabyte.
Cost comparison: Google One for 2 TB costs €100/year. A VPS with enough storage for 100,000+ photos costs ~€108/year – and you can also run Paperless for documents or Vaultwarden as a password manager on it.
Frequently Asked Questions
How long does the Google Photos migration take?
Can I use Immich without a domain?
How much storage do the thumbnails need?
Is Immich stable enough for production use?
More Self-Hosting Guides


Ready for your own photo cloud?
For Immich with face recognition you need at least 8 GB RAM. Find suitable servers here.
Servers with 8+ GB RAM